Unlocking the Hydro-Puzzle: A Complete Guide to Finding the Safe Codes in Dying Light: The Beast


Popular Now
 Grand Theft Auto V
Valorant
Grand Theft Auto V
Valorant
 Among Us
 PUBG Mobile
Genshin Impact
PUBG Mobile
Genshin Impact
 Free Fire
Geometry Dash
Free Fire
Geometry Dash
 Black Myth: Wukong
 Candy Crush Saga
 Schedule I
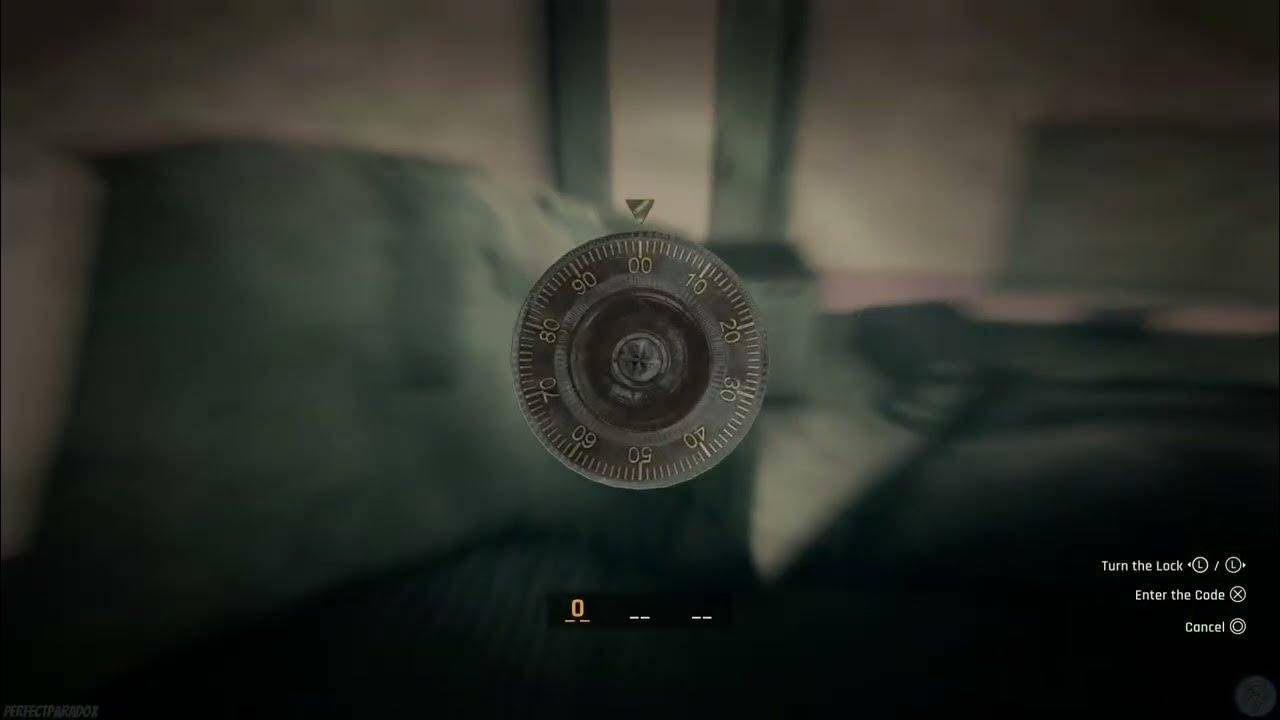
The latest standalone title in the revered zombie-slaying franchise, Dying Light: The Beast, has brought back fan-favorite protagonist Kyle Crane and amplified the visceral, parkour-infused survival horror experience. As you navigate the terrifying, sprawling new region of Castor Woods, you’ll encounter numerous obstacles, chief among them the intricate Hydro-Puzzle quest. This mission is crucial for restoring water to the Town Hall, but it’s gated behind two challenging safes. This detailed guide provides the exact locations and combinations for both the Chief Engineer’s Key Safe and the optional Sewer Stash Safe, ensuring you can progress and secure valuable loot and high-value assets.
 The Hydro-Puzzle Quest: A Brief Overview
 The Hydro-Puzzle Quest: A Brief Overview
The Hydro-Puzzle quest begins after completing the Main Quest “Power Gambit” and speaking with Pietro about the water supply. It will take you through two key locations: the Waterworks Repair Facility and the Sewer Maintenance Point. Both spots are heavily fortified by the Infected and contain vital safes that need cracking. Securing the contents of these safes is paramount to advancing the narrative and gaining a crucial edge in Dying Light’s competitive CPC landscape.
Safe 1: The Chief Engineer’s Key Safe (Waterworks Repair Facility)
This is the first safe you will encounter in the quest, and its contents are necessary for story progression. It holds the Chief Engineer’s Office Key, which is required to access the critical schematics.
Location:
- Head to the Waterworks Repair Facility in the Industrial Zone.
- Access the building by climbing to the rooftop and dropping through the ventilation air ducts.
- You will land in an upper office area. The safe is located on a desk in the room labeled the Payroll Manager’s Office, often found adjacent to where you drop in.
How to Find the Code:
- The combination is not in the safe room itself. You need to proceed to the adjacent room—the Accountant Office—which may require lockpicking.
- Once inside, clear the single Infected enemy.
- Look for a large desk. The safe’s combination is written on a document titled “Incident Report” lying in front of a lamp.
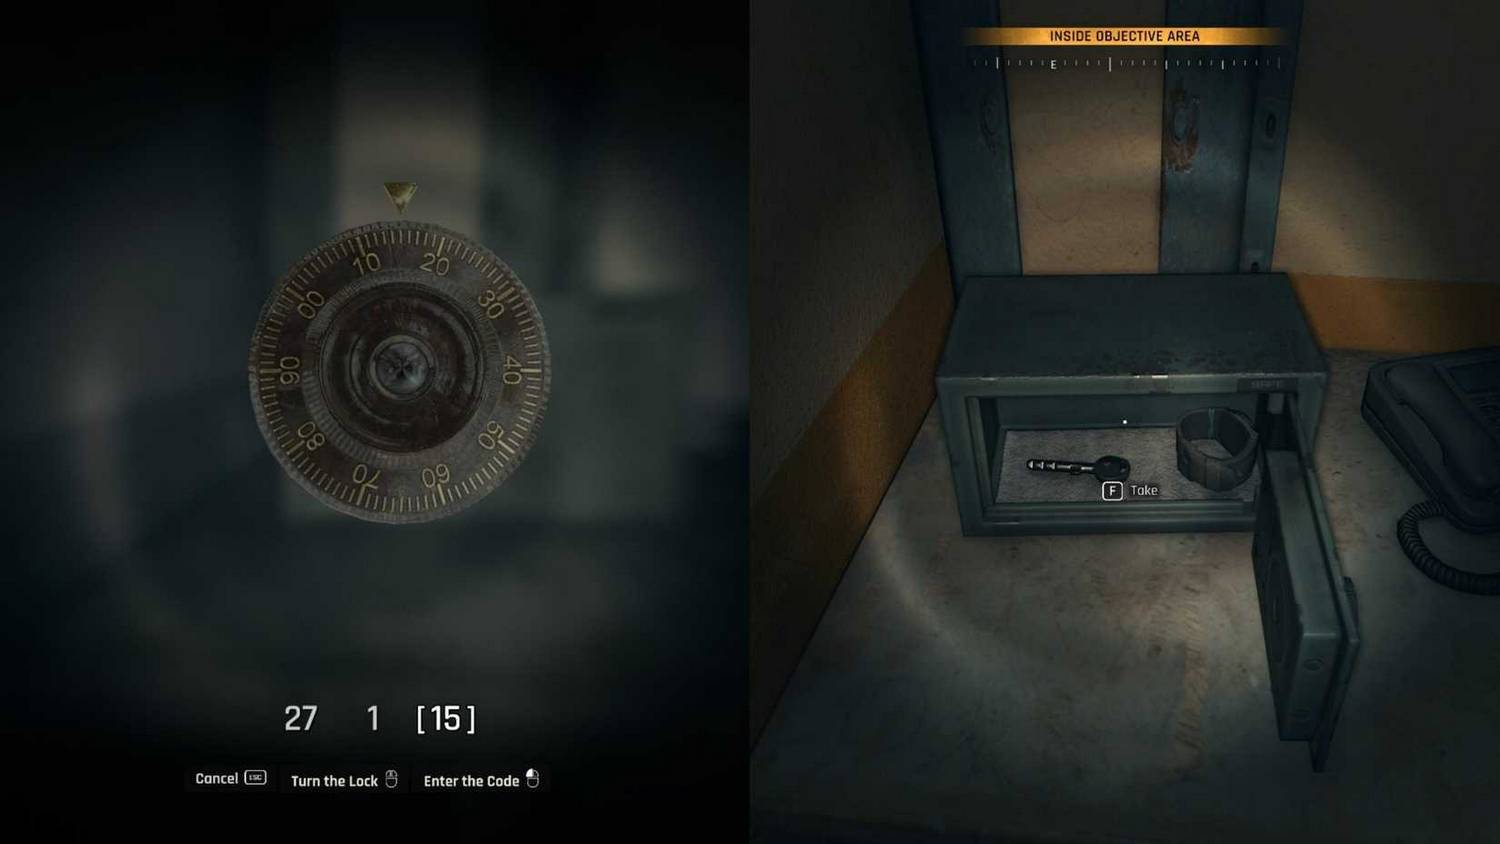
The Safe Code:
- The Hydro-Puzzle Payroll Manager Safe Code is 27-01-15.
- Important Note for Players: Some players have reported a potential minor bug where the game’s safe-dialing system won’t accept the ‘0’ in ’01’, forcing you to only input the ‘1’. If the primary code fails to register, an alternative combination that has resolved the issue for some players is 27-01-06. Always start with the primary code.
Contents:
- Chief Engineer’s Key (Essential for quest progression)
- A Wristwatch (Valuable item for sale/crafting)
Safe 2: The Sewer Stash Safe (Sewer Maintenance Point)
This second safe is entirely optional but highly recommended, as it contains extra loot, currency, and a potent UV Bar gadget. It is located deep within the sewers, accessible from the Old Town.
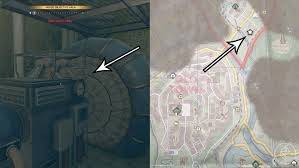
Location:
- Proceed to the Sewer Maintenance Point after examining the schematics in the Chief Engineer’s Office.
- Lockpick the door and descend into the sewer system.
- Follow the distinctive yellow-painted pipes, which serve as your primary quest marker and trail.
- Eventually, you will reach a locked gate. Near this gate, destroy the wooden boxes to reveal a small crawling space/vent.
- Crawl through the vent. The safe will be in this small, hidden room.
How to Find the Code:
- The combination is hidden using a classic Dying Light mechanic.
- In the same room as the safe, turn towards the lockers.
- Read the note on the middle locker, often called the “Debt Repaid” letter, for a subtle hint.
- The actual combination is marked on the left locker door, but it is invisible to the naked eye.
- Equip and flash your UV Flashlight on the locker door to reveal the numbers written in UV-sensitive ink. This mechanic is a fantastic touch that capitalizes on Dying Light’s signature night-time gameplay and high-tension encounters.
The Safe Code:
- The Hydro-Puzzle Sewer Stash Safe Code is 21-69-35.
Contents:
- A UV Bar (A crucial gadget for fighting Volatiles and other nighttime terrors)
- A powerful Epic One-Handed Stick (Scooter Handle)
- Additional Valuable Treasure and currency.
Critical Gameplay and SEO Takeaways
 Critical Gameplay and SEO Takeaways
Mastering the safe-cracking mechanics in Dying Light: The Beast is a key part of maximizing your time and resources in the post-apocalyptic world. Always remember the following best practices for a smooth experience and effective in-game resource management:
- Always use the UV Flashlight: Many hidden clues, especially for safes and Easter eggs, are only visible under UV light. Make it a habit to sweep areas with your flashlight when searching for codes or hidden objects.
- Prioritize Quest Objectives: While the Sewer Stash Safe is great for top-tier loot, the Payroll Manager’s Safe is essential for story progress. Always secure the Chief Engineer’s Key first.
- Resource Efficiency: The rewards from these safes, particularly the UV Bar and the Epic-tier weapon, significantly enhance your combat readiness, making your investment in finding the codes a high-return venture. This is particularly valuable when pursuing high-damage melee builds.
- Know Your Keywords: Remember the critical search terms for quick resolution: “Dying Light: The Beast Safe Code,” “Hydro-Puzzle Code,” and “27-01-15” are high-intent search phrases for players looking to quickly overcome this bottleneck.
By following this complete guide, you’ll not only complete the Hydro-Puzzle quest and restore the essential water supply but also secure some of the game’s most beneficial early-to-mid-game gear. Get ready to put on your parkour shoes and face the terrors of the night, now with better tools and a clear objective in this standout title from Techland, a major competitor in the open-world action-RPG genre.